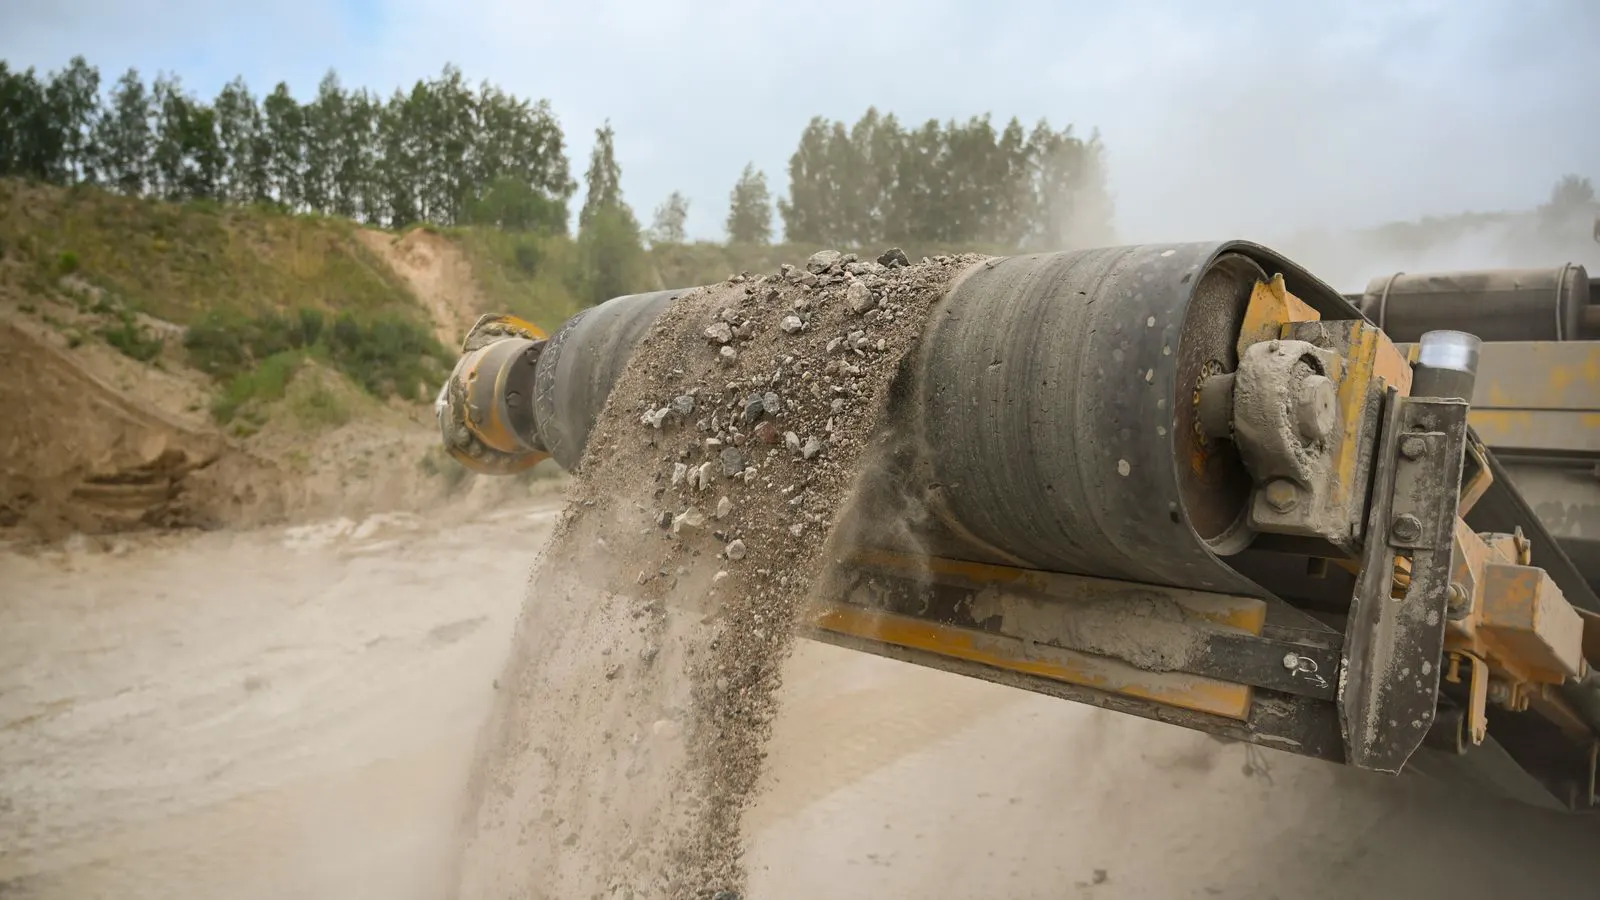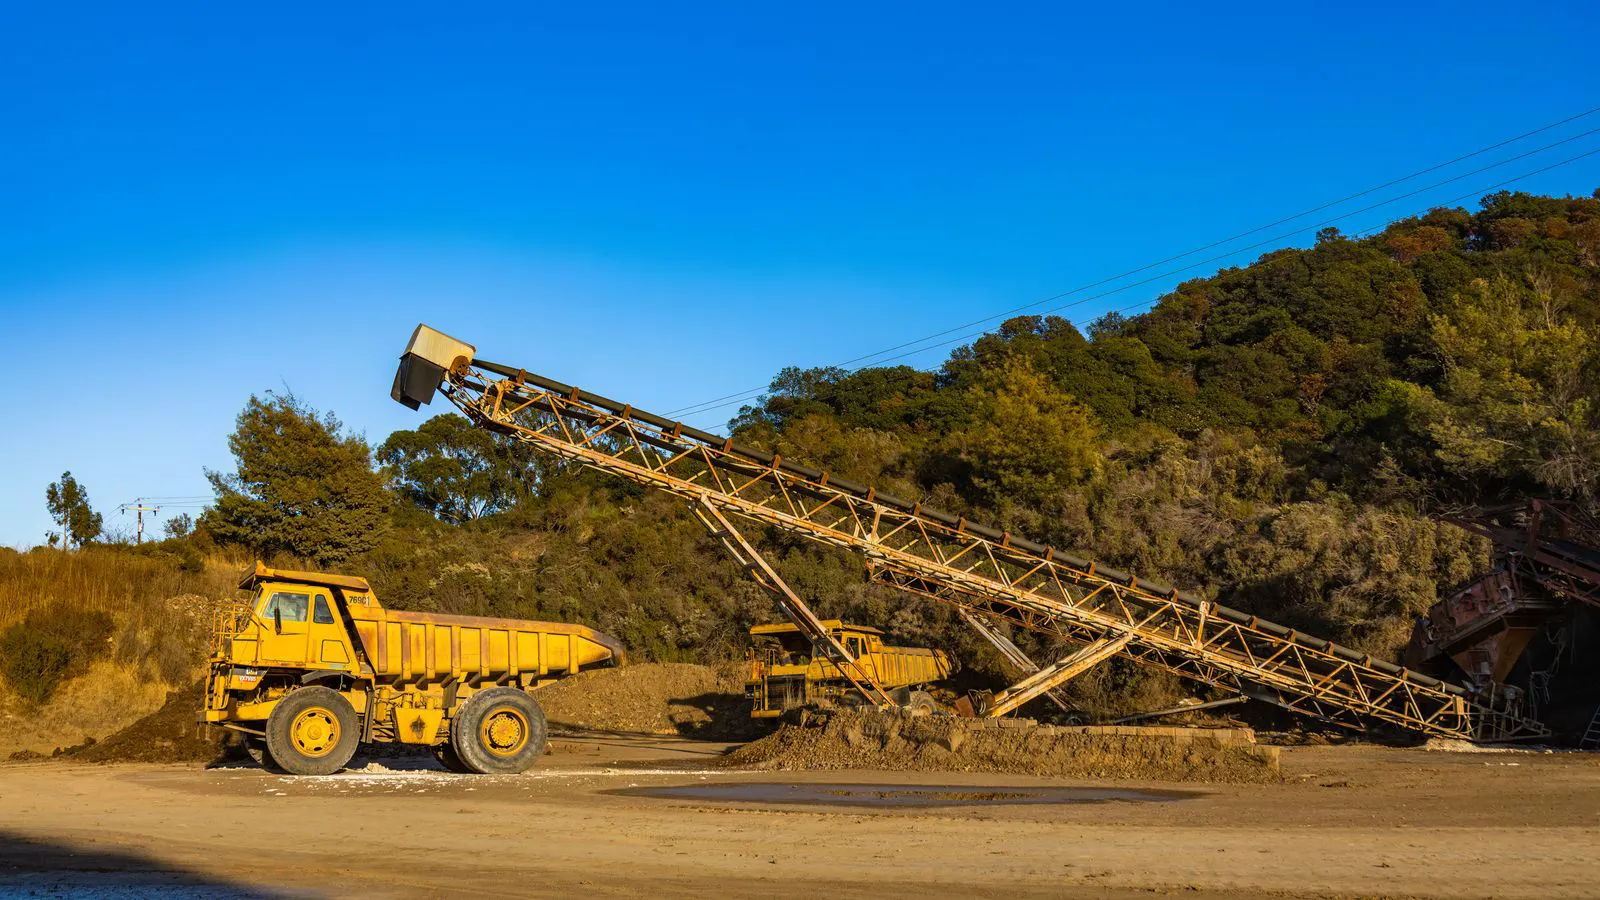
This checklist covers the critical pre-installation steps for mining conveyor systems. It groups tasks by site preparation, structural readiness, and compliance. Following it reduces delays, prevents structural failures, and ensures the equipment operates safely from day one.
- Verify site preparation and structural support before the first steel member is lifted
- Confirm all documentation, permits, and utility clearances are in order before mobilization
- Check alignment, belt tensioning, and electrical connections during final pre-startup review
- Assign clear accountability for each checklist item to prevent gaps during commissioning
- Address red flags immediately to avoid costly rework during the installation process
Why a Pre-Installation Audit Matters
Installing mining conveyor systems is a complex, multi-phase process. Skipping even one verification step can cause delays, rework, or safety incidents once the system goes live. This checklist is designed for project managers, engineers, and site supervisors who need a practical, vendor-neutral framework to confirm readiness before equipment arrives or mobilization begins.
Use it as a baseline. Adapt it to your site’s specific conditions, regulations, and equipment specifications. The goal is to catch issues while they are still cheap to fix, not after the structure is erected and the belt is installed.
Confirm Site Preparation and Access
Site preparation sets the foundation for everything that follows. If the ground, access routes, or work area are not ready, the installation team cannot begin safely or efficiently.
- Verify ground conditions and drainage. Confirm that the subgrade is compacted to specifications. Check that drainage channels are clear and functional. Water pooling around foundations is a common cause of early structural issues.
- Check access routes for heavy equipment. Ensure roads and ramps can support the weight of transport trucks, cranes, and conveyor components. Look for soft spots, loose gravel, or inadequate turning radii.
- Confirm work area boundaries. Mark the installation zone. Ensure there is adequate clearance for crane operations, material staging, and emergency egress.
- Review utility clearances. Identify power lines, fiber cables, and other underground services. Confirm that overhead lines have safe working distances or are de-energized.
Red flags: Muddy or eroding access roads. Missing or unclear utility maps. Staged materials blocking emergency exits. Drainage swales that have collapsed or been diverted by recent weather.
Validate Structural Foundations and Support
The conveyor structure must sit on stable, correctly aligned foundations. A misaligned pier can throw the entire line out of spec, leading to belt tracking issues, increased wear, and potential structural failure.
- Inspect concrete piers and footings. Confirm they have cured to required strength. Check for cracks, honeycombing, or spalling. Verify that embed plates are level and within tolerance.
- Check pier alignment and elevation. Use the as-built drawings to confirm each pier matches the design profile. Even small deviations can compound over long runs.
- Confirm anchoring hardware is present. Bolts, anchors, and anti-corrosion coatings should be in place and protected from moisture during the waiting period.
- Verify support spacing. Ensure the number and location of intermediate supports match the structural engineering calculations. Missing or shifted supports weaken the frame.
Red flags: Piers that are visibly out of line. Corroded or missing anchor bolts. Foundation cracks that extend more than a few centimeters from the surface. Support frames that do not match the design drawings.
Review Documentation and Compliance
Before steel goes up, the paperwork must be in order. This protects the project from regulatory delays and ensures everyone on site understands the design intent.
- Confirm permits and approvals. Verify that construction permits, environmental permits, and any required local approvals are current.
- Check design documents. Ensure the structural drawings, electrical schematics, and control logic diagrams are the latest revision. Confirm they match the equipment supplier’s specifications.
- Review safety documentation. Confirm that risk assessments, method statements, and site-specific safety plans have been approved by both the contractor and the client.
- Verify insurance and liability coverage. Confirm that the installation contractor’s public liability, workers’ compensation, and equipment insurance policies are valid for the site and the duration of the work.
Red flags: Expired permits. Discrepancies between the approved design and the drawings in the field. Missing safety sign-off on method statements. Insurance certificates that name the wrong entity or have lapsed.
Prepare Utilities and Electrical Infrastructure
Conveyor systems require reliable power, lighting, communication, and sometimes compressed air. Getting these systems ready before the main equipment arrives prevents idle time on the installation team.
- Confirm power supply readiness. Verify that the electrical substation or generator set is sized for the conveyor’s peak start-up load. Check that switchgear, cable trays, and conduit are installed and labeled.
- Test control and communication systems. Ensure that PLCs, sensors, and remote communication links are powered and responding. A control system that cannot communicate with the field will stall commissioning.
- Install and verify safety interlocks. Confirm that emergency stop buttons, pull cords, and light curtains are wired and functional.
- Stage lighting and environmental controls. Ensure adequate illumination for night work and ventilation for enclosed areas.
Red flags: Cable trays without proper support or labeling. Control cabinets without proper earthing. Emergency stop circuits that test dead. Power supply that cannot handle the inrush current of the main drive.
Coordinate Equipment Mobilization and Staging
The physical arrival of conveyor components is a logistics event. Poor staging leads to damage, rework, and schedule slip.
- Confirm the delivery schedule matches the site readiness. Do not allow equipment to arrive before the work area is clear and the cranes are positioned.
- Inspect components on arrival. Check for transit damage, missing fasteners, and corrosion. Photograph any issues and notify the supplier immediately.
- Stage materials logically. Group components by installation sequence. Keep fasteners, brackets, and small parts in labeled containers to prevent loss.
- Assign a dedicated staging manager. This person tracks inventory, issues parts to the installation crew, and logs discrepancies.
Red flags: Equipment arriving into a congested or unprepared site. Missing or damaged components with no immediate supplier response. Fasteners and small parts scattered and untracked.
Final Pre-Startup Verification
Once the structure is erected and the belt is installed, a final pass is required before the system is energized. This step catches the small issues that only become obvious once the machine is ready to run.
- Check belt alignment and tracking. Confirm the belt is centered on the pulleys. Look for signs of lateral drift or uneven wear.
- Verify tensioning. Belt tension must be within the manufacturer’s specified range. Too tight causes bearing wear. Too loose causes tracking problems and snubbing.
- Inspect guardrails, ladders, and walkways. Ensure all safety hardware is installed, secure, and compliant with local regulations.
- Test all sensors and interlocks. Run a full functional test of every safety device before the first production run.
- Confirm drainage and drainage covers. Ensure all drainage paths are clear and covers are secure.
Red flags: Belt that drifts off-center during a slow test. Tension readings outside the specified range. Missing or loose guardrails. Sensors that fail to trigger during a manual test.
Quick Reference: Pre-Installation Audit Table
| Category | Key Check | Red Flag |
|---|---|---|
| Site Preparation | Ground compacted and drained | Muddy access, pooling water |
| Structural | Piers aligned and cured | Cracked or out-of-line foundations |
| Documentation | Permits and safety plans approved | Expired permits, missing sign-offs |
| Electrical | Power and control systems live | Missing earthing, dead interlocks |
| Mobilization | Equipment staged and inspected | Transit damage, missing fasteners |
| Pre-Startup | Belt aligned and tensioned | Drifting belt, out-of-range tension |
Use this table as a rapid review tool. Walk the site with it before the first steel member is lifted. If any cell contains a red flag, stop and resolve it before proceeding.
Common Mistakes to Avoid
Even experienced teams make the same errors. Recognizing them early saves time and money.
- Starting structure work before foundations are fully cured. Concrete needs time to reach design strength. Rushing this step can lead to long-term structural issues.
- Ignoring drainage during site preparation. A poorly drained site will become a maintenance nightmare. Water damage to foundations and electrical cabinets is expensive.
- Allowing equipment to arrive before the site is ready. This creates congestion, damage risk, and idle labor costs.
- Skipping the final pre-startup test. It is tempting to power up the system and “see what happens.” This is how safety interlocks go untested and tracking issues go uncaught.
- Not assigning clear accountability. If everyone assumes someone else is checking a task, it does not get done. Name a person for each checklist item.
Final Thoughts
A disciplined pre-installation process is not a formality. It is the difference between a smooth commissioning and a months-long delay. The checklist in this article is a starting point. Tailor it to your site, your regulations, and your equipment. Walk the site with it. Resolve red flags before they become problems. The work you do before the first bolt is tightened determines how the conveyor performs for the next ten years.
Frequently asked questions
How long before equipment delivery should I complete site preparation?
Site preparation should be complete at least two weeks before the first shipment arrives. This window allows time for final inspections, drainage verification, and access route confirmation. If the site is not ready, do not accept the delivery.
What is the most common cause of post-installation conveyor failures?
Misaligned foundations and incorrect belt tensioning are the leading causes. These issues stem from rushed structural work or skipped verification steps during pre-startup testing.
Do I need a separate checklist for each conveyor line?
Yes. Each line has unique length, load, and environmental conditions. Use the framework in this article as a base, then add line-specific items such as span calculations, idler spacing, and local drainage requirements.
Who should own the pre-installation checklist?
The project manager or installation contractor's site supervisor should own it. The client's engineering team should review and sign off. Clear ownership prevents gaps and ensures accountability.
Can I use this checklist for existing conveyor upgrades?
Yes, with modifications. For upgrades, focus on the structural integrity of existing piers, compatibility of new components with existing controls, and temporary safety measures during the work. The same red flags apply.