A pre-drilling checklist verifies rig setup, borehole stability, surface controls, and emergency readiness. Following these checks reduces the risk of blowouts, collapses, and equipment failure before the first bit enters the formation.
- Confirm the hole location, depth, and casing plan before mobilizing the rig.
- Inspect the derrick, top drive, and mud system for leaks or structural damage.
- Verify that surface controls, barriers, and emergency equipment are in place.
- Review the specific geology and formation risks before breaking ground.
- Ensure the crew knows the communication plan and emergency response procedures.
Why a Pre-Drilling Checklist Matters
A drilling operation begins with the decision to break ground. That decision carries immediate risks to the crew, the rig, and the surrounding infrastructure. A borehole is an open channel into the subsurface, and conditions below can change rapidly once pressure is released. A drilling checklist acts as a final gate before the first bit enters the formation. It forces the team to stop and verify that the equipment is sound, the site is controlled, and the plan matches the known geology. Skipping these steps often leads to reactive problem solving during the operation, which increases downtime and exposure to danger.
Site and Borehole Preparation
The first checks happen on the surface, before any rig components are moved. The team must confirm the exact location of the borehole. Survey markers or GPS coordinates should match the drilling permit or plan. If the hole is near existing infrastructure, such as roads, pipelines, or other wells, the offset distances must be verified. A small error here can result in striking an old well or damaging surface assets.
The ground around the rig needs to be assessed. The soil must support the weight of the rig, the derrick, and the drill string. If the ground is soft or uneven, mats or concrete pads may be required. Water management is a common failure point. Standing water around the rig base can cause the foundation to shift, leading to derrick lean. The site must be cleared of debris, vegetation, and loose material that could obstruct emergency egress.
Equipment and Rig Integrity
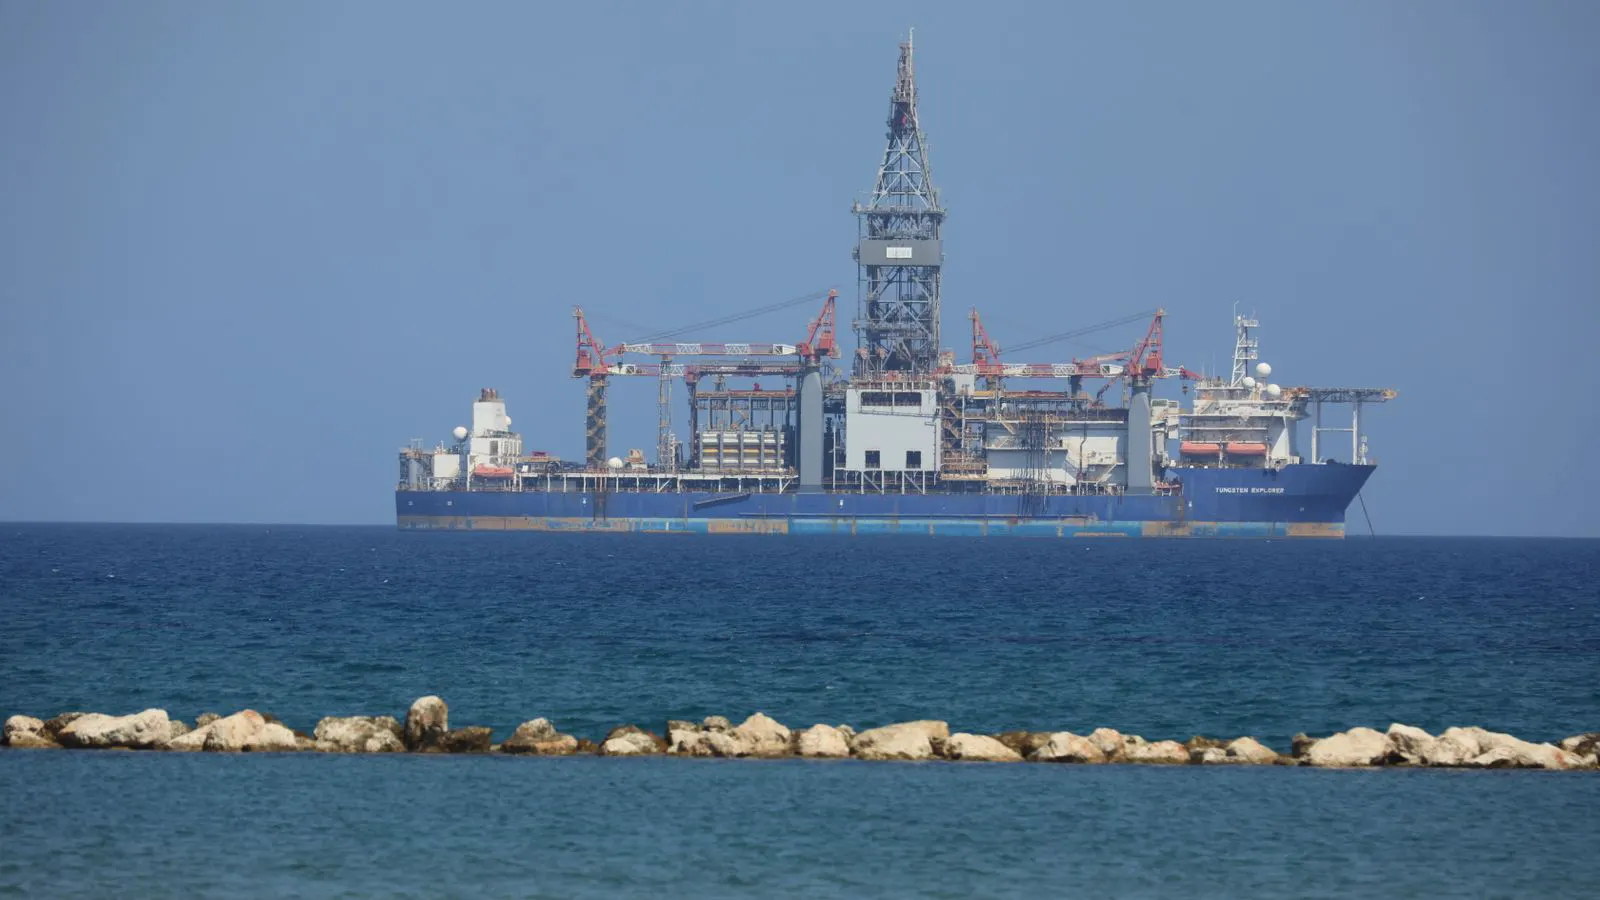
Once the site is prepared, the focus shifts to the rig itself. The derrick or mast is the primary structural component. Inspect the lattice or tubular sections for cracks, weld failures, or deformation. Check the pins and bolts at the base and top. A bent derrick can fail under the load of the drill string during a blowout or a stick slip event.
The top drive or rotary head must be checked for proper function. The torque limiter should be adjusted to the manufacturer’s specifications for the expected hole size and depth. Excessive torque can damage the drill string, while too low a setting can cause premature breakage. The drawworks, or winch, must be tested. The brake should hold the load without slipping. Frayed cables or worn sheaves indicate immediate repair is needed.
The mud or circulation system is often overlooked until a problem occurs. Check the drill pipes and standpipes for leaks at the joints. The mud pump must circulate the intended volume. The mud shakers and screens need to be clear of debris. The drilling fluid level in the mud tank must be sufficient for the planned operation. Low fluid level leads to lost circulation and can expose the borehole to formation pressure.
Drilling Fluid and Casing Plan
The drilling fluid is not just a lubricant for the bit. It controls the pressure in the wellbore and suspends cuttings. The specific gravity or weight of the fluid must match the formation pressure. If the fluid is too light, it will not hold back formation fluids, leading to a kick. If it is too heavy, it may cause fluid loss or damage the formation. The team must verify that the correct additives are present. These additives control viscosity, prevent corrosion, and manage the rheology of the mixture.
The casing plan is a critical part of the drilling checklist. The first casing protects the hole while the well is being drilled to the next interval. The team must confirm that the casing size, length, and joint type are correct for the planned depth. The casing must be properly threaded and sealed. The cementing equipment should be staged and ready if the plan requires cementing at that stage. A missing or damaged casing joint can result in a hole collapse before the bit even reaches the first cement bond.
Surface Controls and Emergency Readiness
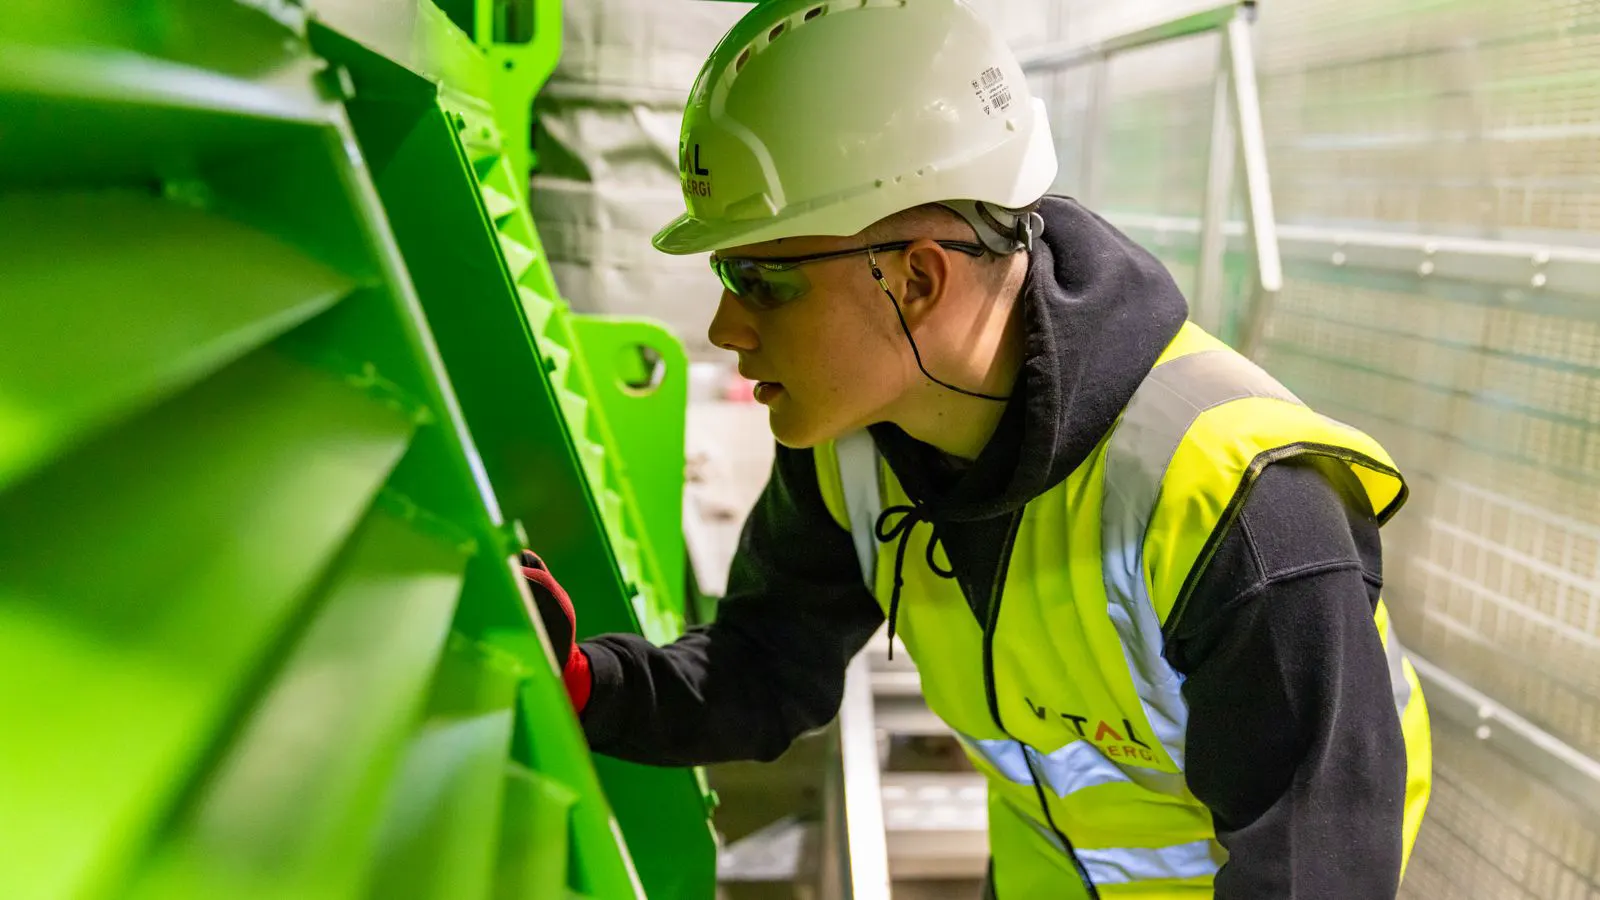
The area around the borehole must be controlled. Barricades or fencing should prevent unauthorized access. Signage indicating the presence of a drilling operation should be visible. The mud pit and circulating fluid can contain hazardous chemicals. Workers need to wear appropriate personal protective equipment, including gloves, eye protection, and hearing protection. The mud pit is a slip and fall hazard, and a hole-in-one risk if the fluid is agitated by the pumps.
Emergency equipment must be accessible and functional. A fire extinguisher or water hose should be nearby for small fires or to cool hot surfaces. A first aid kit must be stocked and within reach. The crew needs a clear communication plan. Radios or other communication devices must be tested. Everyone on site must know who is in charge and who to call in the event of a blowout, collapse, or injury. A spill kit should be on hand to manage any fluid leaks.
Crew Briefing and Operational Plan
A pre-drilling checklist is not just a paper exercise. It requires a verbal briefing with the crew. The team lead must review the day’s plan. This includes the depth to be drilled, the expected formations, and the specific hazards. The crew must understand the signals for stopping the rig. A sudden change in pressure or cuttings volume requires immediate action. The team should know how to shut down the pumps and secure the drill string.
Review the geology. If the formation is known to be unstable, such as unconsolidated sand or fractured rock, the drilling speed must be adjusted. The team must be prepared for a potential hole collapse. If the borehole is near an aquifer, there is a risk of water influx. The plan must account for these possibilities. The crew must know the limits of their equipment. If the torque exceeds the limit, the bit may break. If the pressure rises, the fluid must be circulated out or the wellbore must be plugged.
Red Flags to Watch For
A drilling checklist helps identify problems before they become emergencies. However, certain signs during the operation indicate that the plan may be flawed or the equipment is failing. The table below lists common red flags and the immediate actions required.
| Red Flag | Potential Cause | Immediate Action |
|---|---|---|
| Sudden increase in mud return volume | Kick from formation pressure | Stop drilling, circulate, and verify fluid level |
| Sharp drop in mud return volume | Fluid loss into formation or hole collapse | Stop drilling, increase fluid weight, and assess hole stability |
| Unusual vibration in the drill string | Bit damage, stuck pipe, or formation issue | Reduce torque and speed, then back out the string carefully |
| Mud level drop in the tank | Leak in the system or fluid loss | Isolate the leak source and top off the fluid |
| High vibration in the derrick | Rig foundation issue or drill string imbalance | Stop the rig and inspect the base and drill string |
Final Verification Before Breaking Ground
The final step is a walk-around of the entire setup. The team lead and the operator should walk the rig together. They should verify that all guards are in place, all valves are in the correct position, and all personnel are clear of the rig. The mud system should be circulating at the planned rate. The top drive should be engaged and ready. The communication channels should be open. Once every item on the drilling checklist is confirmed, the operator can start the rig. The goal is to begin the operation with confidence that the equipment is sound and the team is ready to handle the formation. A thorough pre-drilling checklist is the most effective way to ensure that the borehole remains safe and the operation stays on schedule.
Frequently asked questions
What is the primary purpose of a drilling checklist?
The primary purpose is to verify that the rig, site, and crew are ready for the operation. It ensures that safety controls and equipment checks are completed before the first bit enters the formation.
How often should the drilling checklist be used?
The drilling checklist should be used before every new drilling operation. It should also be reviewed if the rig is moved to a new location or if significant changes are made to the drilling plan.
Who is responsible for completing the drilling checklist?
The responsibility is shared between the rig operator, the site supervisor, and the crew. The site supervisor or lead operator typically signs off on the completed checklist before starting the operation.
What should be done if a red flag appears during drilling?
If a red flag appears, such as a sudden change in pressure or fluid volume, the operator must stop the rig and assess the situation. The crew should follow the emergency response plan and contact the site supervisor for guidance.
Can a drilling checklist prevent a blowout?
A drilling checklist helps prevent a blowout by ensuring that the mud system is functioning correctly and that the fluid weight is adequate to control formation pressure. It is a key part of the overall safety management system.